Showing posts with label Week 14. Show all posts

Monday, October 21, 2013

Week 14 - Day 5

*Cucumbers are mentioned in the Bible.  
They are known to have anti-inflammatory and anticancer properties.
Find out what other health benefits cucumbers offer in the Healthy Home Ec book,
and what Roman Emperor had a cucumber on his plate everyday!

Gather your ingredients and supplies.  
You won't need your canning supplies until 5 days from now.
Use only fresh cucumbers.  They should not have a waxy feel to them.


Read the ingredient list and measurements in the Healthy Home Ec book.


Slice the ends off the cucumbers.


Then peel using a vegetable peeler.


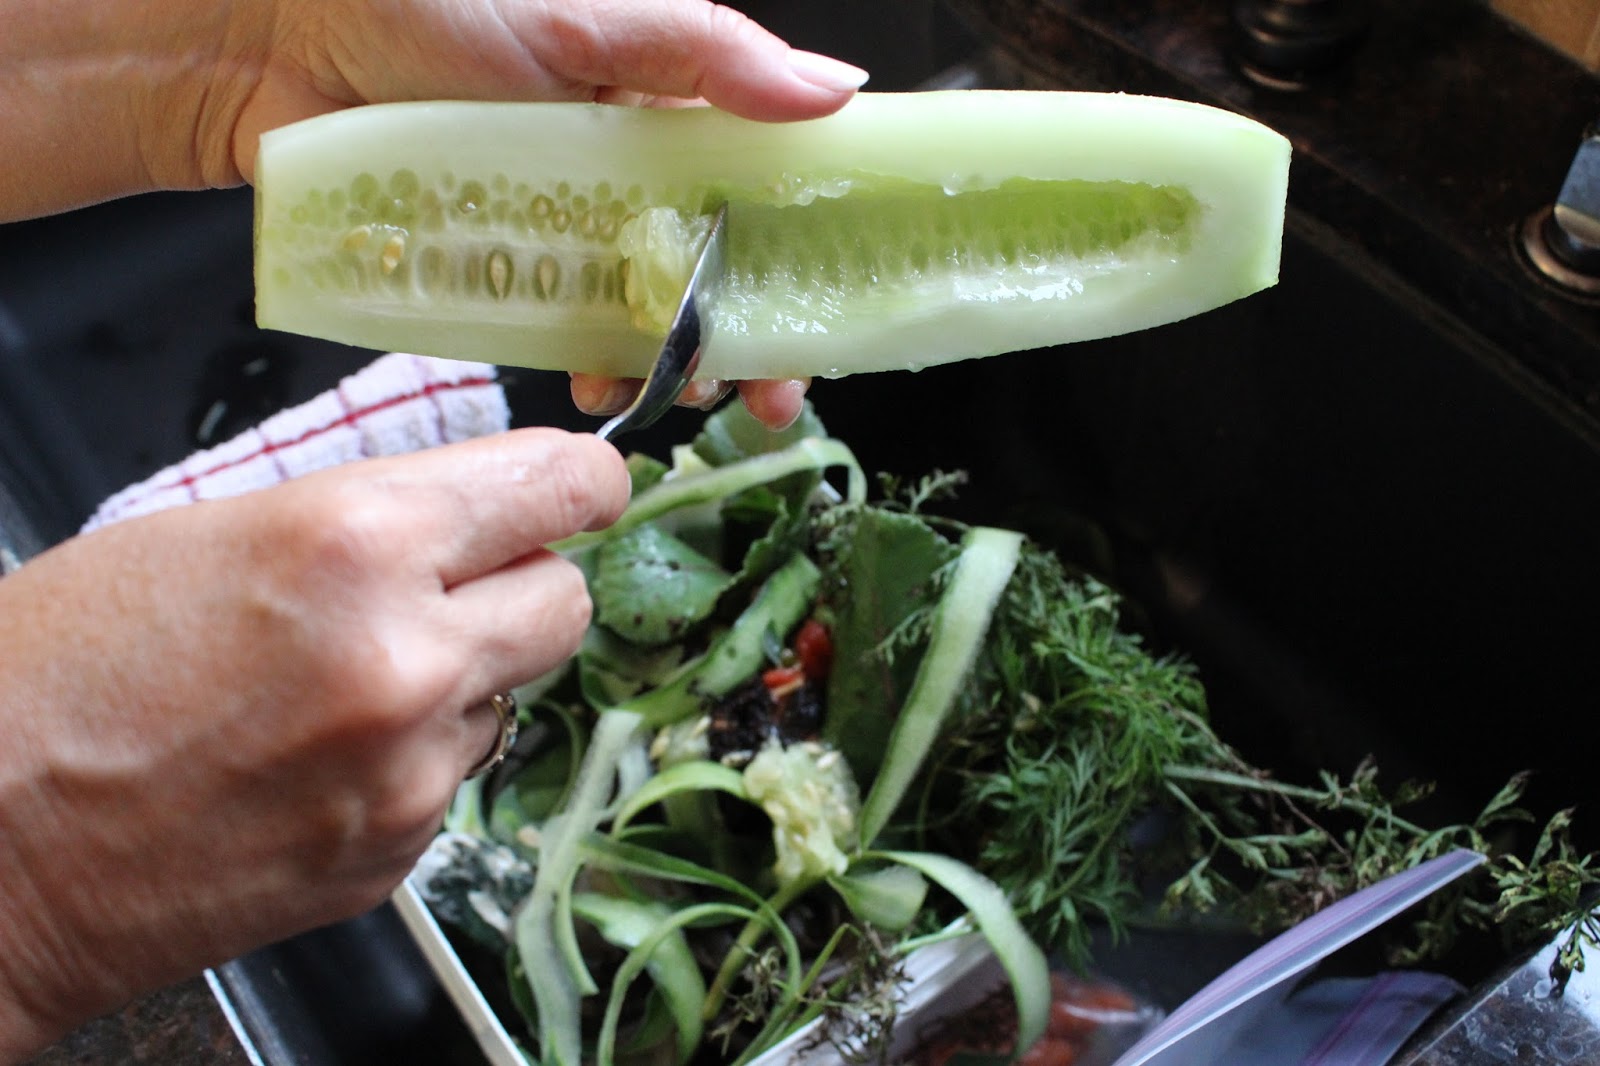
I cut mine in half and remove the seeds.  This is optional.


I would usually use my food processor, but it unexpectedly broke.
A manual shredder also works,
or you can slice them thinly with a knife.


Peel and slice the onion.


Wash and slice the green pepper.  
Again, use only fresh peppers.  They should not have a waxy feel to them.


Remember to remove the seeds and inner "white flesh."


 The vinegar should dissolve the sugar, but if it doesn't, you can heat it to a mild boil,
then remove it from the heat and stir until sugar is dissolved.


All the veggies should be in your large bowl with an available lid or cover.
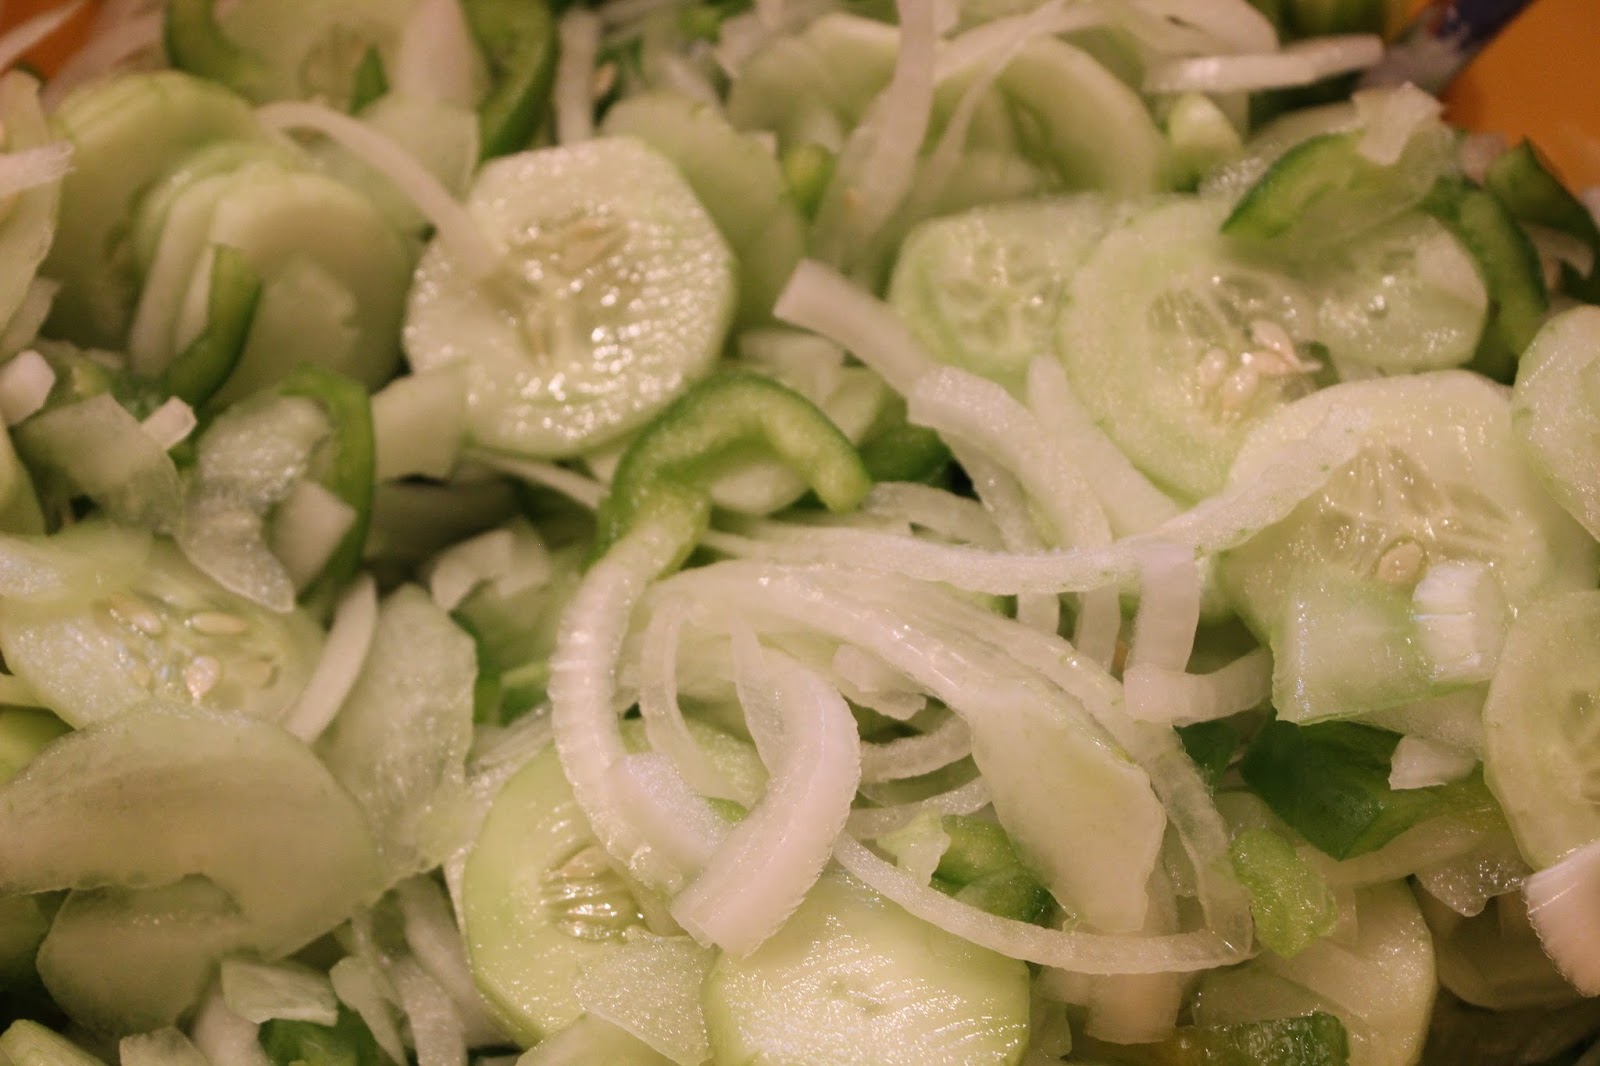

Then add the sugar and vinegar mixture and stir.


Cover with a lid and refrigerate.


Stir everyday for 5 days as directed in the Healthy Home Ec book.


On the 5th day, you're ready to freeze the cucumbers.


 Use a canning funnel to prevent spills.
Any freezer container will work, but I like glass jars.


Leave 1/2" headspace at the top.
As the cucumbers freeze, they will expand.
If they are too close to the top of the jar, the jar could break as they expand.
Make sure the vegetables are covered with the liquid.


 Put a lid on loosely.
Put upright in freezer until frozen, then you can tighten the lid.


You can use pint sized jars if you have a smaller family...


or quart sized jars for larger families.


Remember to thaw at room temperature on the day you'll need this salad.
Then pour into a serving bowl and serve.
This is a quick and easy salad or side dish anytime you need it.


Week 14 - Day 4

*Chicken broth is used in a wide variety of recipes,
such as the chicken soup recipe on page 163 in the Healthy Home Ec book.
Find out how to make your own from scratch in today's lesson.

After hearing about a recent salmonella outbreak occurring in chicken meat,
I decided to further research canning chicken broth.
In spite of advice from an older woman who said that chicken broth (not meat)
could be canned using a hot water bath canner,
I feel that the safest course is using a pressure canner.


If you don't have a pressure canner,
then complete steps 1-8 in the Healthy Home Ec book in the procedure section, then:
1. use the broth immediately
2.  put in jars with tight sealing lids and put in the refrigerator to be used within 1-2 days, or
 3.  put in glass canning jars, leaving a 1" headspace at the top,
put the lid on loosely, and once the broth has cooled, freeze upright for up to 3-4 months.
Tighten the lid after the broth is frozen solid.
(Remember to thaw in the refrigerator before needed for a recipe.)

Are you ready for a brief science lesson?
Here's what I found out in further research:
The United States Department of Agriculture recommends using a pressure canner 
as the only safe method for canning low acid foods, such as meat and poultry and some vegetables.
Fruits, vegetables, and meat naturally contain invisible microorganisms
that can cause food to spoil if left to sit for extended periods of time.
There are 4 basic microorganisms that cause food to spoil:
1. enzymes
2. mold
3. yeast
4. bacteria

Molds, yeast, and enzymes are destroyed at temperatures at or below 212 degrees F.,
the temperature at which water boils
(except in mountainous regions);
therefore, using a hot water bath canner is sufficient to destroy those microorganisms.
But bacteria are not easily destroyed.
The bacteria, Clostridium botulinum, produces a spore that makes a poisonous toxin 
which can cause botulism.
This spore is not destroyed at 212 degrees F.

In pressure canning, some of the water in the pressure canner is converted to steam,
creating pressure within the canner.
As the pressure increases, 
the temperature increases.
*5 pounds of pressure = 228 degrees F.
*10 pounds of pressure = 240 degrees F.
*15 pounds of pressure = 250 degrees F.
This pressurized heat destroys the potentially harmful bacterial spores.

If, after boiling, a food does not smell or look right,
throw it away without tasting it!

So after all that, let's make some chicken broth, and you can 
use it right away, refrigerate it, or freeze it for today.

Gather your supplies and ingredients.
(You can double or triple this recipe if you are planning on storing a lot of the broth
by canning or freezing.  Today's recipe makes about 2 1/2 - 3 quarts.)


Always wash your hands with hot soapy water for at least 20 seconds before and after cooking,
but especially before and after touching raw meat.
Also remember to wash all utensils and counters that any raw meat has touched.
It's also a good idea to disinfect countertops after working with raw meat.


Follow steps 1-4 in the procedure beginning on page 196 to 197.


Follow steps 6-7 on the top of page 197.

The top pan is a strainer.  The bottom pan collects the broth.

The broth is left.
Heat it to use immediately in a recipe (see some examples below),
or to fill jars to process in a pressure canner.
If you are using pressure canner,
ask an adult for help and follow the instruction manual for your canner.
(This course does not require pressure canning.)


Fill the jars with hot broth to process in a pressure canner,
or allow the broth to cool if refrigerating or freezing.


Leave a 1" headspace at the top if you are planning on freezing your broth.
This allows for expansion so the glass doesn't break.


Here are some examples for using your homemade chicken broth:


Heat 1 quart of the broth to a slow boil;
add about 1/2 - 3/4 cup of brown rice,
cook according to directions on rice package;
add the cut up chicken and carrots,
to make chicken and rice soup.


Heat the broth to a boil;
add your favorite soup noodle
and cook according to package directions;
Add cut up chicken to make chicken noodle soup.


Heat the broth to a boil and add some couscous
as we did from Week 9 Day 3, page 124.


  Be creative.
Remember, cooking is an art as well as a science.
Have a wonderful rest of the day!
Keep up the great work!


Week 14 - Day 3

*Tomatoes  are actually a fruit, by definition.

The Bible tells us that "the fruit of the Spirit is
love, joy, peace,
patience, kindness, goodness,
gentleness, faithfulness, and self-control."  (Gal.5:22-23)
Those who belong to Christ will be known by all of these character traits.
We are to "produce fruit in keeping with repentance."  (Mt.3:8)
"Every tree that does not produce good fruit will be cut down and thrown into the fire." (Mt.3:10)

What kind of tree are you?  What kind of fruit are you producing?
It's your choice.

Think about these things as you are canning your tomatoes (fruit) today.

Note that the canning jars can be "regular mouth" or "large mouth"...
this regards the opening at the top.  You'll want to have matching lids and rings for each type.
Here, the large mouth lids and rings are on the left; regular on the right.

Always begin with washed and clean hands, jars, lids, ring bands and all other utensils.


 The order will go like this:  
1- tomatoes in boiling water (pictured on far right)
2- tomatoes in ice water (pictured in front left)
3- tomato cores and peels will go in the smaller bowl (pictured in back left)
4- tomatoes will go in the large pot for cooking (pictured back right)


Wash the tomatoes.


Put 2 or 3 tomatoes at a time into the boiling water to blanch.  
This makes removing the skins very easy.


Blanch for 1-2 minutes.


Then remove to ice water to cool.


Remove the core.
Also remove any "bad" spots that may be on the tomato.
(We should do this in our life, too.)
Never add a rotten tomato to the pot, or it will ruin the whole batch.
(This is kind of like life, too.)


The peels should come right off.


Some peels will even start to come off by themselves.


Some of my tomatoes were very large, so I cut them into quarters before I squished them.


 Squish the tomatoes in the pot.


Continue the process until all your tomatoes are in the cooking pot
or until the pot becomes full, whichever comes first.


More squishing may be required once the pot is full if the tomatoes are still too large.


Cook on the stove as directed in the Healthy Home Ec book.


Skim off any foam that collects on the top, and discard.  Stir occasionally.


Cover, and let cook as directed.


Fill a first jar with boiling water from the tea kettle.  This will heat and help sterilize the jar.
After a few minutes, transfer the boiling water to a second jar to begin heating it.
The first jar is then hot, and ready to add tomatoes.


Transferring boiling water from jar 1 to jar 2:
(Refer to step 14 in the Healthy Home Ec book)


 Filling jar 1 with hot tomatoes:
(Refer to step 15 in the Healthy Home Ec book)


Once the jar is full, with a 1/2" headspace, add the hot lid.
(Refer to step 5 and 16 in the Healthy Home Ec book)


Holding the lid in place, screw on the ring band.


Transfer the jars to the hot water bath canner, using the canning tongs.
(Refer to step 18)


Once all the jars in the water bath canner, lower them into the boiling water using oven mitts.


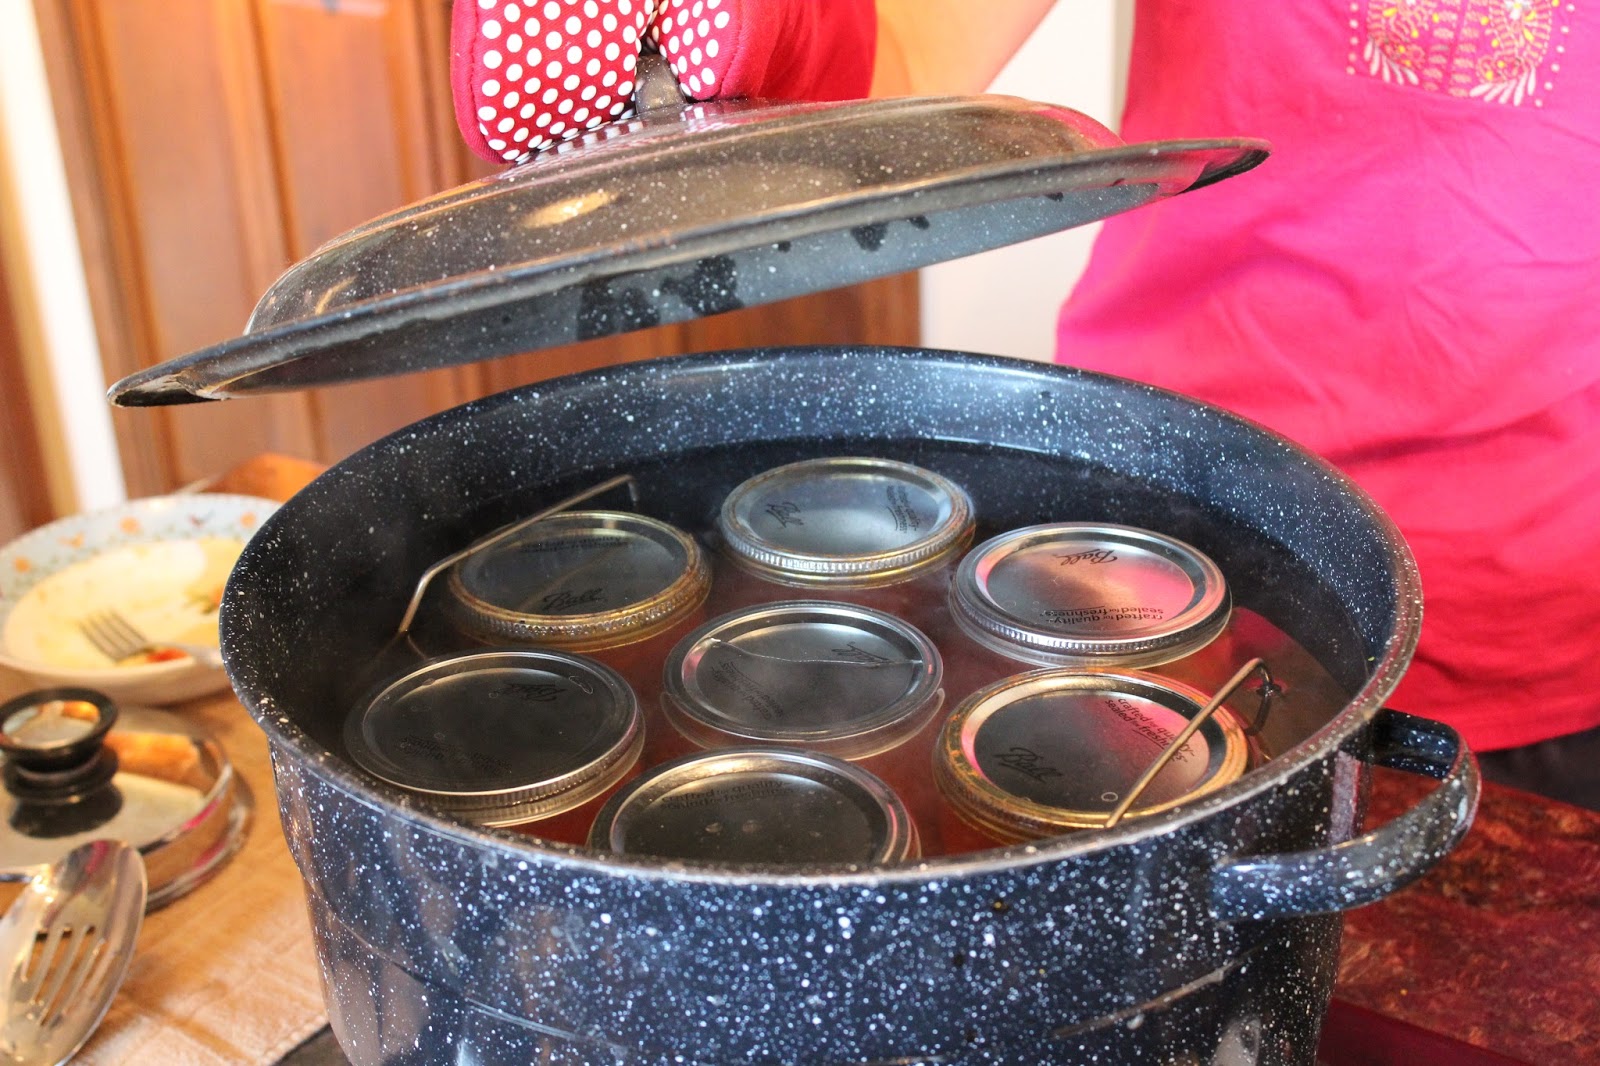
Cover with the lid, and allow to process as directed in the Healthy Home Ec book.
(Refer to step 19)


After the allotted processing time, remove the jars (using the canning tongs) to a kitchen towel, and cover with other towels.  Air on the hot jars could cause them to crack.

Finish with steps 20-22 in the Healthy Home Ec book.


Just for more information...
Roma tomatoes (small pear-shaped) can be frozen in Zip-lock Freezer bags.
Use a dry towel or washcloth to remove loose dirt on the tomatoes, 
but don't get them wet.
Put in freezer bags and freeze until needed (up to 6-8 months).
When needed, remove the amount you need from the bag,
rinse under hot water to remove the skins,
and use in any recipe calling for tomatoes.