Showing posts with label Week 5. Show all posts

Monday, September 9, 2013

Week 5 - Day 5

*What are some differences between almond butter and peanut butter?
*On day 1 of this week you learned about preservatives.  
Which of the following is not a commonly used preservative?
a.   Disodium EDTA
b.  Sodium Benzoate
c.  Calcium Proprionate
d.  Coriander

Find the answers to these questions in this week's Healthy Home Ec lesson.

If you are new to grinding your own grain to make your own flour, you may want to start off with small quantities.  Store the grain in an airtight container.
But if you plan on milling all or much of your own flour in the future, it is more cost effective to purchase grain in larger quantities.  
(See "About This Curriculum" on the blog page for suggestions about where to purchase.)
 Using a gamma seal lid, like the blue and yellow lid in the photo below, on a 5 gallon bucket will help keep your grain sealed and fresh.  
It also makes taking the lid off much easier for quick and easy access.


 Gather your supplies and ingredients to make Almond Butter Bars.
I prefer raw almond butter, but this brand was on sale.
Almond butter can be expensive, so purchase it when it goes on sale and stock up,
or make your own almond butter as mentioned on page 75 in the Healthy Home Ec book.


Melt the butter and almond butter together.


Remove from heat and let cool slightly.


Grind your grain as in previous lessons to make the flour.


Add the remaining ingredients.


Stir to blend after each ingredient is added.


Batter should be thick and creamy.


 Pour into the sprayed baking dish.


 Spread the batter to fill the dish.


Bake as directed.


Cut into bars and enjoy.


This completes week 5.  Keep up the good work!

"Working" to prepare our food is a satisfying and rewarding experience.
It gives us a sense of accomplishment, it provides foods for our bodies that are nutritious, healthful, and taste great; and preparing our own foods can be much more cost effective.

If you have younger siblings in your home, read "The Little Red Hen" to them.
An important lesson and Biblical truth is taught in this children's classic.

"If anyone is not willing to work,
let him not eat."
2 Thessalonians 3:10b


Something to think about.....


Friday, September 6, 2013

Week 5 - Day 4

*What makes tomatoes red?
*What 2 main vitamins are found in tomatoes?
Find out in the Healthy Home Ec book.


 This is a bay leaf plant that I brought back when we moved from Florida.
Bay leaves have a sweet, citrus smell when fresh.
They grow like a tree in the South, but as a potted plant, mine is about 4 foot tall.


Gather your supplies and ingredients.


Choose organic or all natural meat, without antibiotics, growth hormones, or preservatives.
(This sauce could easily be made with or without meat.)


Fry the meat.
Add the wine or grape juice once the meat is done.
Wine will help de-glaze the pan if you are frying ground beef.
Ground turkey will have hardly any fat at all.


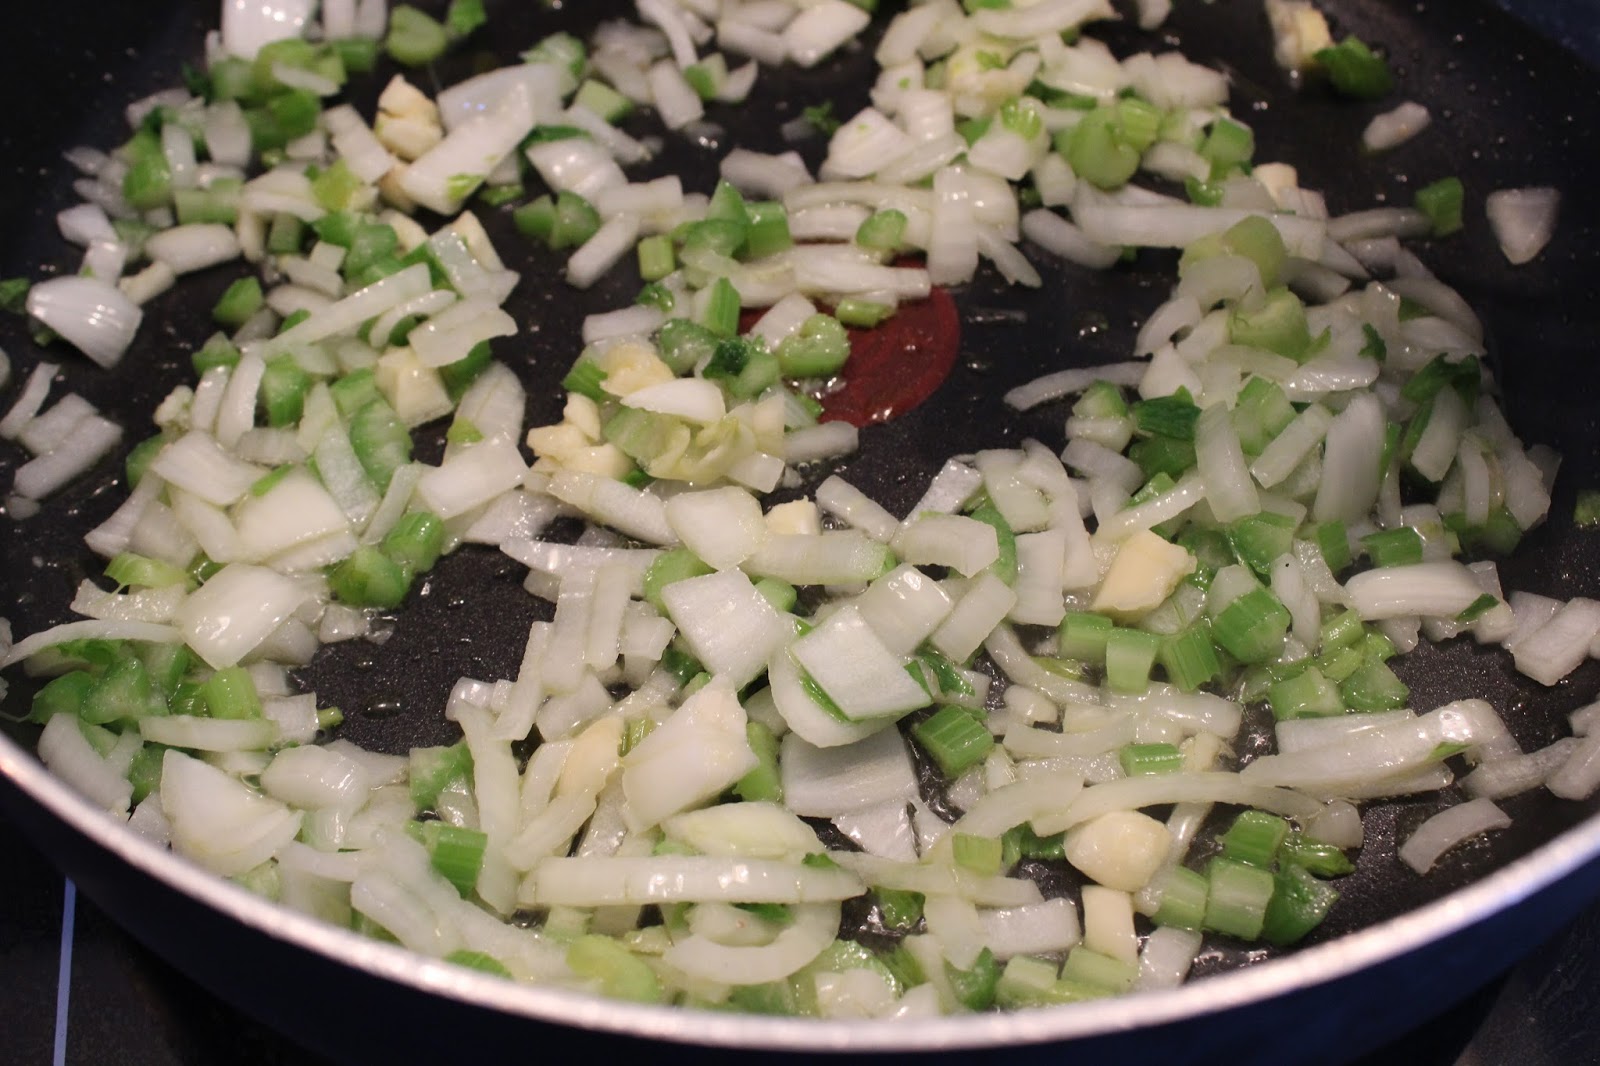
Saute the onion, celery, and garlic.
Use another skillet, or put the meat in a container and set aside if using the same skillet for the veggies.


Wash and dice the veggies.
Cut the onion and garlic as in previous lessons.


Cutting the celery in half or in fourths allows for smaller diced pieces.


Saute the veggies.


Transfer the veggies to the Vita-mix or powerful blender.
Lightly puree.
If you want a chunky sauce, add the whole diced tomatoes to the meat mixture later.
For a smoother sauce, you can add the diced tomatoes to the blender.


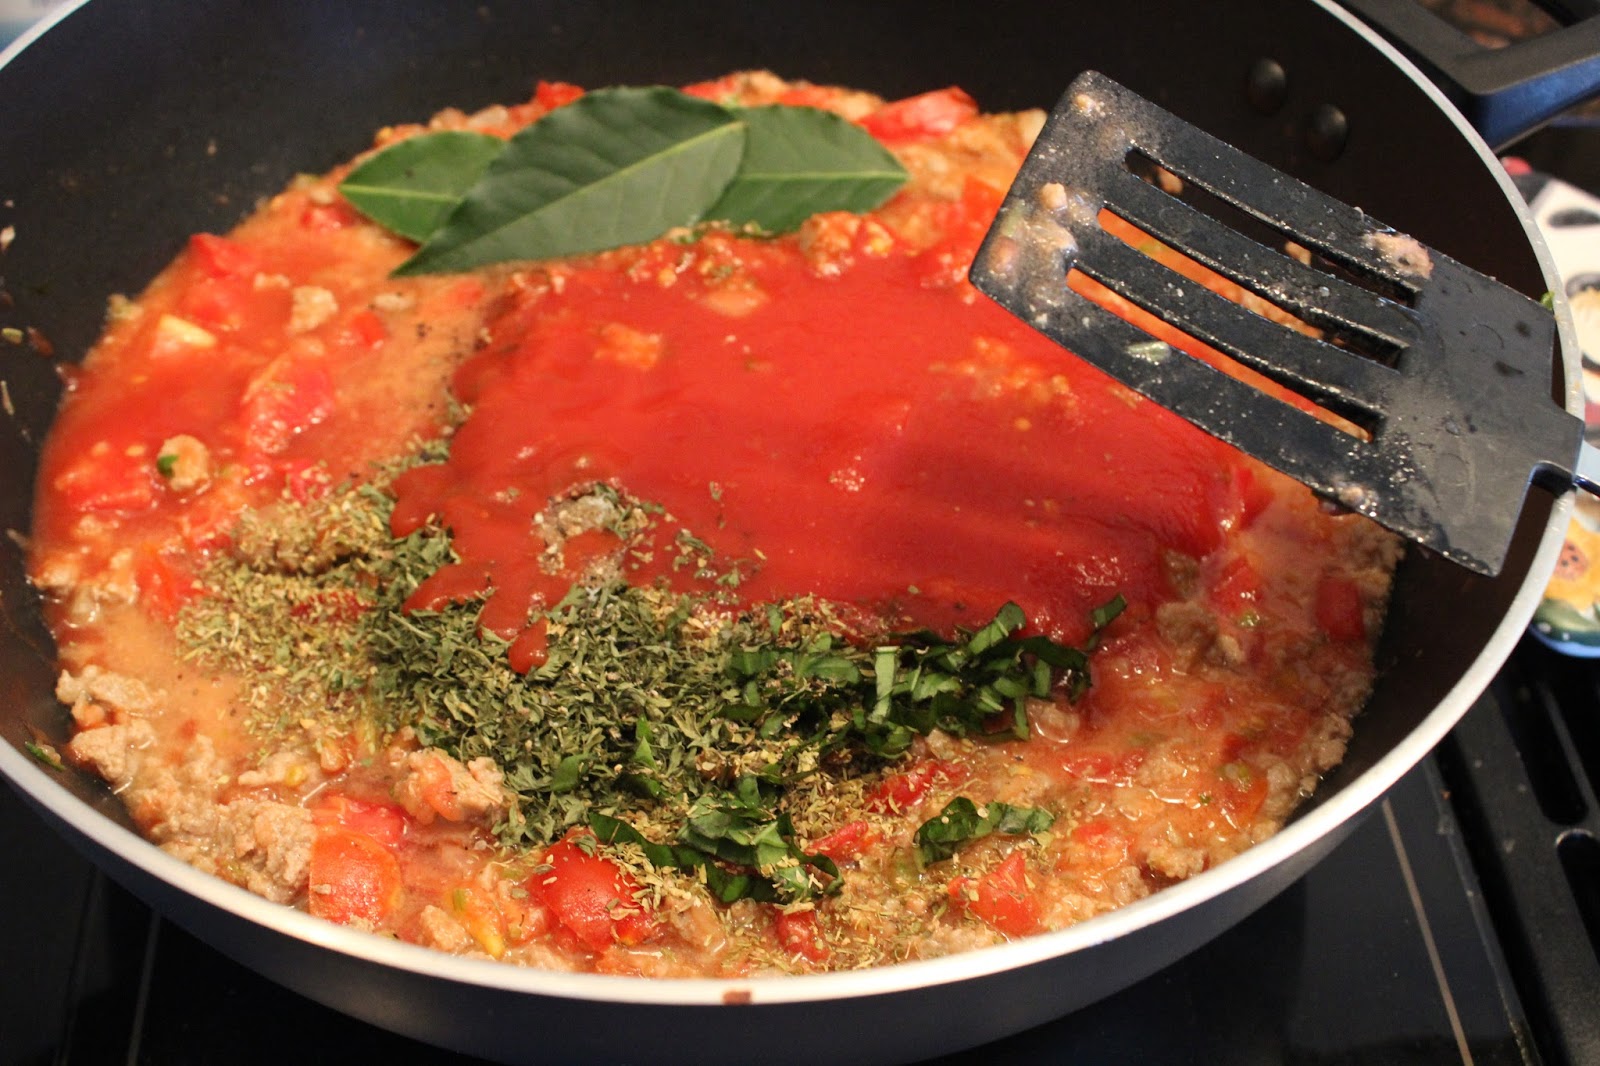
Add the lightly pureed veggies to the meat.
Add the remaining ingredients.


Mix all the ingredients together.
Cover and let simmer for 1-2 hours.


Remove the bay leaves before serving.


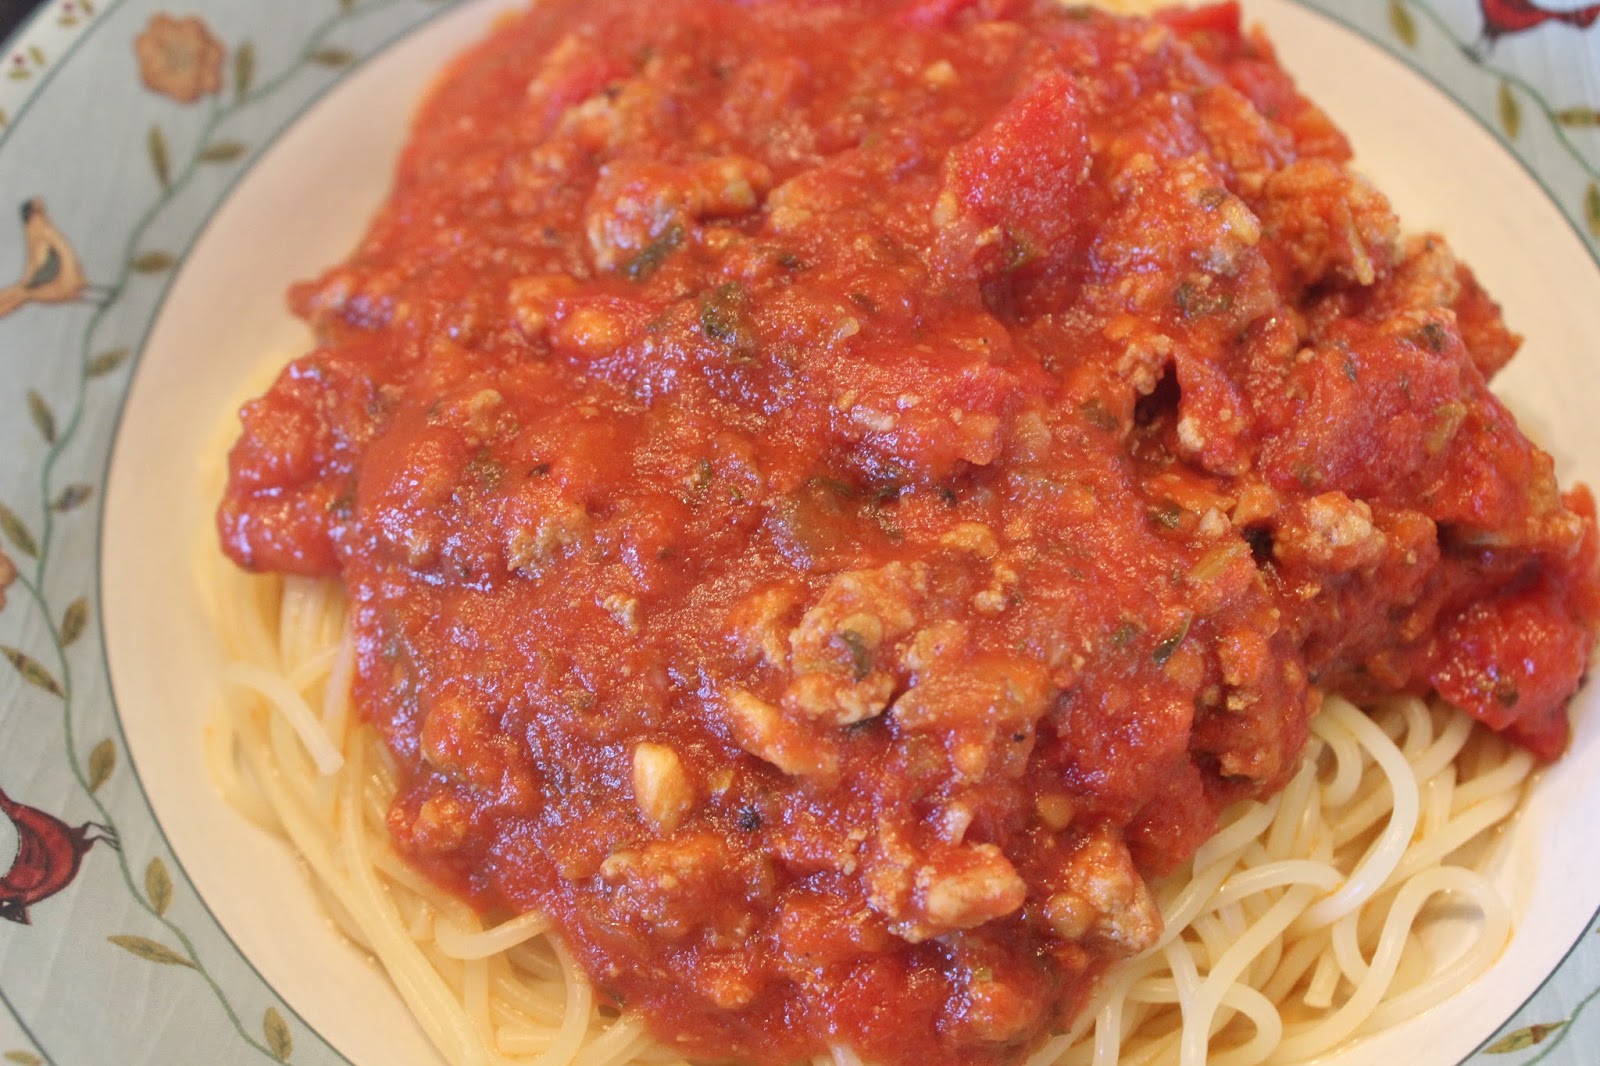
 Serve with your favorite pasta.
Cook according to package directions.


Italian Spaghetti Sauce also goes well with an Italian Salad...


and fresh bread with Italian dipping oil.


 The finished meal:


Remember to continue memorizing this week's Scripture verses.
Have a blessed evening!


Week 5 - Day 3

*We learned this week about physically and chemically altered foods.
Your Scripture memory verse reminds us that "there is a way that seems right to a man,
but in the end leads to death."
How are we confused and blinded by what we eat?

Today we'll be making a healthful lunch with tahini.
Find out what tahini is in the Healthy Home Ec book;
 why sunflower seeds are healthful; 
and what may be the oldest condiment known to man, dating back to as early as 1600 BC.

Gather your supplies and ingredients.


Make the hummus first, then set aside.
Follow the directions in the Healthy Home Ec book.
This is very easy to make, and much better than store-bought, 
because it doesn't contain any preservatives!
Make it anytime for a quick, healthful snack with veggies, crackers, or flat bread.


There are different varieties of tahini to choose from.


Remove the lemon seeds before squeezing.


The hummus should be thick, smooth, and creamy.


Warm the wraps as directed in the Healthy Home Ec book.
(Any brand is fine as long as they are all natural.
I like spinach wraps or caraway wraps best.
They will probably be found in the organic freezer section of the grocery store.)


Cut the veggies.
I removed the seeds of the cucumber.


Use an oven mitt or potholder to remove the warm wraps from the oven.


Spread hummus on each wrap.


Fill with veggies.


Wrap them up.


Tuck in the ends as you wrap.


You can add toothpicks to help hold them in place as you cut them.


Serve and enjoy.


I served mine with some healthy sweet potato chips and scallions.


Here's how to cut an avocado:

Start with an avocado that is firm, but indents slightly when pressed with fingertip.
(This one used for this demonstration is a little too ripe.
The one I used in the above recipe was the perfect ripeness.
Notice the bright green color.)

Cut around the avocado and separate using a twisting motion.


Chop the knife down into the pit using one quick motion.
Keep your fingers away!


Holding the pitted half in your hand, turn the knife and lift up.
The pit should come right out.


Tap the knife against the garbage bowl or side of sink to remove the pit.
(Be careful not to let it go down the garbage disposal if you use the sink.)


Remove the hard shell with a paring knife.


We'll be making Italian Spaghetti Sauce in the next lesson.
See you then!