*What is yeast, and what does it do?
Find out on page 93 in your Healthy Home Ec book.
Welcome back.
Gather today's supplies and ingredients.
You do NOT have to pre-heat the oven until the dough is rising.
Therefore, step 1 can be done during step 9 in your book on page 93.
Make a note of it.
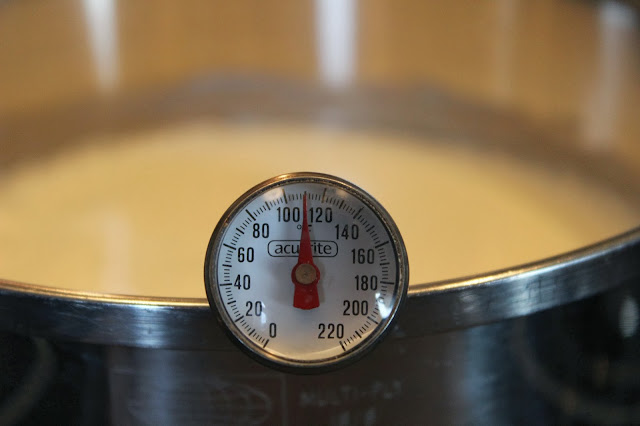
Place the buttermilk in the pan and heat on low to desired temperature.
While the milk is heating,
dissolve the yeast in the warm water in a large mixing bowl.
Stir with a fork until dissolved.
Remove milk from stovetop when the desired temperature is reached.
Then add the buttermilk, oil, and raw sugar to the yeast mixture.
In a second bowl, combine the flours, baking soda, and salt.
Add the dry ingredients to the wet ingredients
and beat on low speed with a bread dough hook or flat beater
until dough is formed.
Prepare a floured surface to work on.
I used a floured pastry cloth.
You could also use wax paper.
Rub the flour into the pastry cloth.
Turn the dough out onto the floured surface.
Use a rubber spatula if needed to get the dough out of the mixing bowl.
Use the pastry cloth to "punch down" the dough.
Try not to touch the dough with your hands, as it will make the dough sticky.
Cut dough in halves until 24 pieces of dough are achieved.
Roll slightly in your hand until a ball is formed,
then place in the sprayed baking dish.
12 balls of dough per dish
Cover for about an hour until dough rises
and doubles in size.
You can pre-heat the oven when there are about 15 minutes left on the timer.
Once dough has risen,
bake as directed.
You can eat them now as is,
or try them like my husband's grandma used to make them
with butter melted on the tops,
and sprinkled with sugar.
Serve warm.
Enjoy.
Our wheat field:
Remember the importance of whole grains.


No comments:
Post a Comment
Note: Only a member of this blog may post a comment.