*Remember this week's Scripture verse: "You are to take every kind of food that is to be eaten and store it away as food for you and for them."
Review this week's lessons with your instructor.
Home-canned foods keep a maximum amount of their minerals, vitamins, color, and flavor; not to mention, home-canning foods can save you a lot of money!
Choose peaches that are firm, but indent slightly when pressed with fingertip.
Choose locally grown peaches that are in season if possible.
Peaches here in the Midwest are ripe in late summer.
If you are new to canning, you won't be doing as many as I did!
Gather your supplies and ingredients.
Back row, left to right: canning funnel, Fruit Fresh
Front row, left to right: canning tongs, paring knife, small tongs
canning jar rings (or ring bands):
canning jar Dome lids:
canning jars, washed and clean:
water bath canner with wire rack:
tea kettle filled with boiling water; medium sized saucepan for syrup:
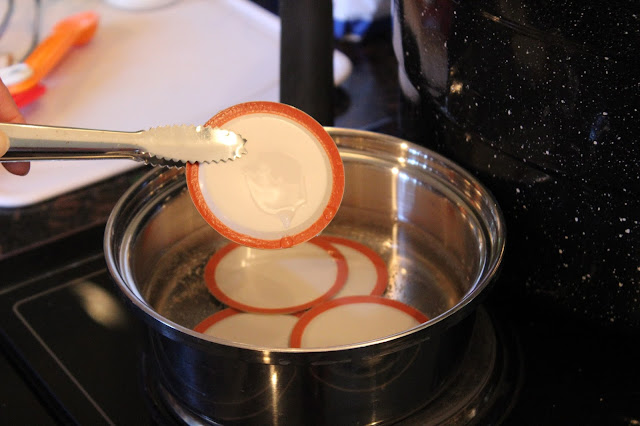
small saucepan for heating lids:
(Fill water bath canner 3/4 full with water and bring to a boil. Keep water boiling.)
small saucepan with lids:

Make the syrup as directed (step 8 in Healthy Home Ec book).
This ratio makes a medium syrup.
To make a light syrup, lessen the amount of sugar by 1 cup. Use the same amount of water.
Use locally grown sugar if it's available.
stir syrup as it boils
Prepare water in large bowl to hold peeled peaches until ready to put into jars (step 3).
Peel the peaches (steps 4-7).
(You can blanch them if they don't peel well
by dropping them into boiling water for about one minute.
Once they cool slightly the skins should come right off.)


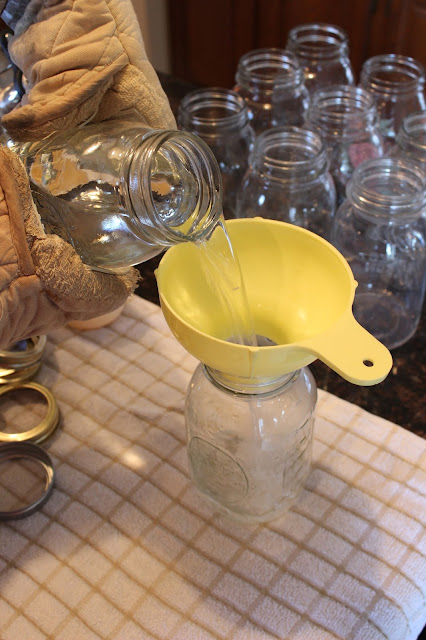
Heat the canning jars by filling with boiling water, then transferring to another jar (steps 10-12).
Fill the hot jar with peaches (step 13).

Add the hot syrup to fill the jar to the bottom of the rim, covering the peaches (step 14).

step 15:
step 16:
Hold the lid in place with your left hand as you screw the ring band on with your right hand.
Steps 17-18:
Lower the rack into the boiling water canner (step 19).
step 20:
step 21:
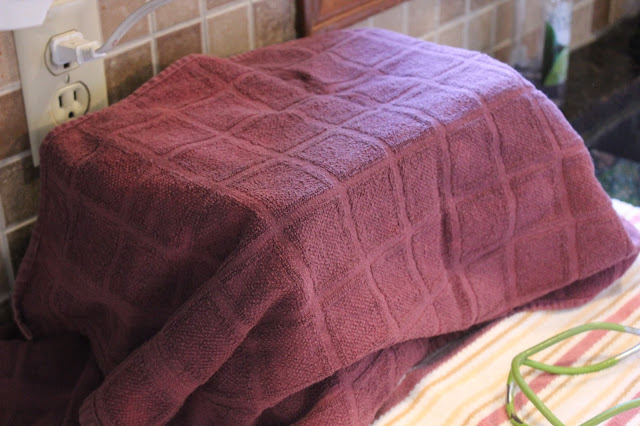
steps 22-24:
Leave the jars under the towels for a day, counting the "pops" if possible to see how many have sealed. The next day, push down on the lid gently. If the lid does not move, the jar is sealed. If it moves up and down when pushed on, it is not sealed. If jar seals, place them in a cool, dark area for up to a year. If the jar did not seal, place in refrigerator and eat within 2-3 days.
Once you get used to canning, and start stocking up on canning jars and supplies,
it's a great way to save money and enjoy a high quality product.
Shop at garage sales if you are thinking of canning in the future.
Great job!!
it's a great way to save money and enjoy a high quality product.
Shop at garage sales if you are thinking of canning in the future.
Great job!!


No comments:
Post a Comment
Note: Only a member of this blog may post a comment.